

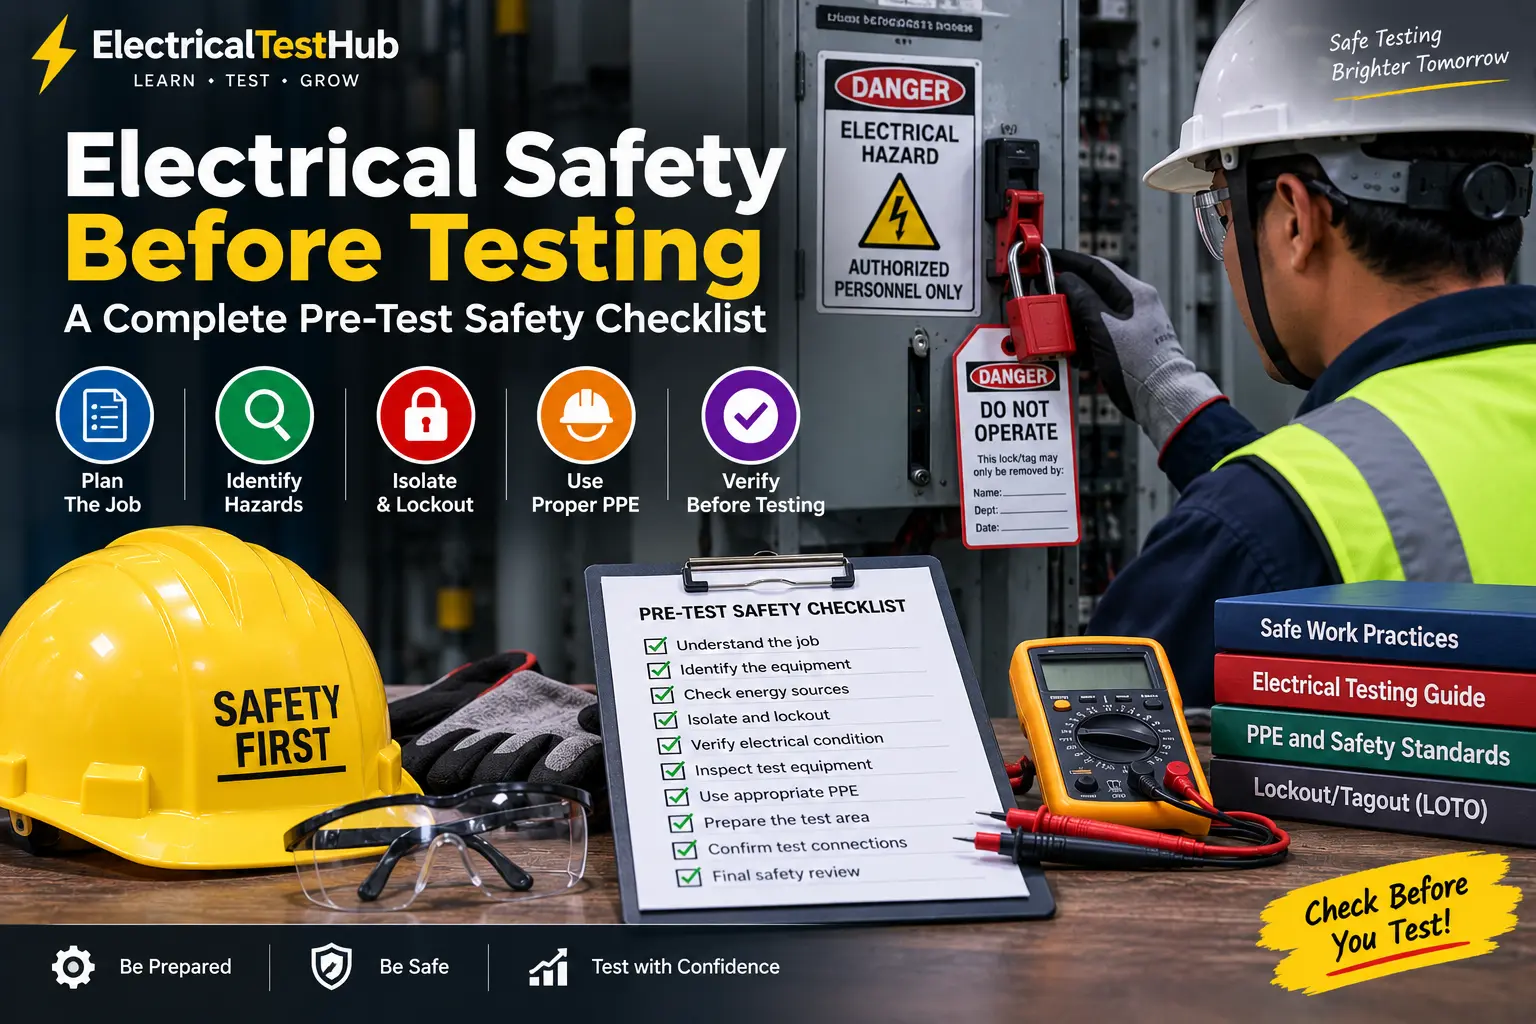
Electrical testing should never begin by simply connecting a test instrument to electrical equipment.
Before performing an insulation resistance test, continuity test, transformer test, circuit breaker test, cable test, or any other electrical measurement, proper preparation is essential.
Many electrical testing mistakes happen before the actual test even begins.
A technician may use the wrong test instrument, fail to identify all energy sources, connect test leads incorrectly, or start work without understanding the condition of the equipment.
For this reason, every electrical testing activity should begin with a proper pre-test safety check.
In this article, we will discuss a practical and beginner-friendly electrical safety checklist that can help engineers and technicians prepare before performing electrical tests.
Important: This guide is intended for educational purposes. Electrical testing should be performed only by appropriately trained and authorized personnel following applicable workplace procedures, manufacturer instructions, and relevant safety requirements.
Why Is a Pre-Test Safety Checklist Important?
A checklist helps prevent important steps from being forgotten.
Electrical testing often involves multiple activities, including:
- Identifying the equipment
- Understanding the test requirement
- Isolating electrical sources
- Inspecting test instruments
- Checking the work area
- Selecting appropriate PPE
- Preparing the test connections
When people perform familiar tasks repeatedly, they may become overconfident.
For example, an experienced technician may think:
“I have tested this type of motor many times. I already know what to do.”
However, every electrical system and work location can be different.
A motor may have:
- Multiple power sources
- A connected variable frequency drive
- Stored electrical energy
- Incorrect equipment labeling
- Unexpected backfeed
A pre-test checklist creates a structured process and encourages the technician to stop and verify important safety conditions.
The Complete Electrical Pre-Test Safety Checklist
Before starting an electrical test, the following areas should be reviewed:
- Understand the job.
- Identify the equipment.
- Identify all possible energy sources.
- Review the testing procedure.
- Check the work environment.
- Isolate the equipment when required.
- Prevent unexpected re-energization.
- Verify the electrical condition.
- Check for stored energy.
- Inspect the test instrument.
- Inspect the test leads and accessories.
- Select appropriate PPE.
- Prepare the test area.
- Confirm the test connections.
- Perform a final safety review.
Let’s examine each step in detail.
Step 1: Understand the Job Before Starting
The first question should be:
What exactly am I being asked to test?
Do not begin a test based only on a short instruction such as:
“Test the transformer.”
You should understand the complete testing requirement.
For example:
- Which transformer will be tested?
- What type of transformer is it?
- What specific test is required?
- Why is the test being performed?
- Is the equipment new, in service, or under maintenance?
- Is the equipment energized or de-energized?
The purpose of the test can affect the entire testing procedure.
For example, a test performed during commissioning may require a different procedure from a test performed during routine maintenance or fault investigation.
Step 2: Correctly Identify the Equipment
Never rely only on assumptions.
Before beginning work, confirm the identity of the equipment.
Check:
- Equipment nameplate
- Equipment tag number
- Panel identification
- Circuit identification
- Single-line diagram, where available
- Site documentation
Real-Life Example
Imagine that two transformers are installed side by side:
- Transformer TR-1
- Transformer TR-2
A technician receives an instruction to test TR-2.
If the equipment identification is unclear and the technician isolates or disconnects the wrong transformer, this could cause:
- Unnecessary service interruption
- Testing delays
- Incorrect results
- Potential safety hazards
Always confirm the correct equipment before starting.
Step 3: Identify All Possible Energy Sources
One of the most important parts of electrical safety is identifying every possible source of energy.
Do not assume that equipment has only one source of electrical supply.
Possible energy sources may include:
- Main utility supply
- Generator supply
- Backup supply
- UPS system
- Battery bank
- Solar system
- Capacitor bank
- Control power supply
- Another interconnected circuit
You should also consider the possibility of:
- Backfeed
- Induced voltage
- Stored electrical energy
Practical Question
Before touching the equipment, ask yourself:
Could this equipment receive electrical energy from another source?
If the answer is uncertain, stop and investigate before proceeding.
Step 4: Review the Required Testing Procedure
Every electrical test has a specific purpose and procedure.
For example, an insulation resistance test is not performed in the same way as:
- A continuity test
- A contact resistance test
- A transformer turns ratio test
- A circuit breaker timing test
Before beginning, review:
- The test procedure
- Manufacturer recommendations
- Applicable site procedures
- Required test voltage
- Required test instrument
- Required test connections
- Safety precautions
Do not depend entirely on memory, particularly when working on unfamiliar equipment.
Step 5: Inspect the Work Environment
Electrical safety is affected by the surrounding environment.
Before testing, inspect the work area.
Look for:
- Water or moisture
- Poor lighting
- Restricted working space
- Obstructions
- Damaged flooring
- Exposed electrical components
- Unauthorized personnel
- Trip hazards
- Poor ventilation
Example
A technician may have the correct instrument and PPE but still face increased risk if test leads are spread across a busy walkway.
Someone could accidentally trip over the leads and disturb the test connection.
A clean and controlled work environment is an important part of safe electrical testing.
Step 6: Isolate the Equipment When Required
Whenever the testing procedure requires equipment to be de-energized, proper isolation should be completed before beginning work.
Depending on the electrical system, isolation may involve:
- Opening a circuit breaker
- Opening an isolator
- Removing a fuse
- Disconnecting a battery source
- Isolating a generator supply
However, remember:
Opening one circuit breaker does not necessarily isolate all possible energy sources.
The complete electrical system must be understood.
For a stronger understanding of electrical hazards, read our guide on Understanding Electrical Hazards: Shock, Arc Flash and Arc Blast.
Step 7: Prevent Unexpected Re-Energization
After equipment has been isolated, it should be protected from accidental or unexpected energization.
Imagine this situation:
A technician has isolated a motor and started connecting test equipment.
Another employee sees that the motor is stopped and assumes that the equipment should be restarted.
The employee closes the circuit breaker.
This could create an extremely dangerous situation.
Appropriate workplace procedures should be followed to control the energy source and prevent unauthorized or unexpected operation.
This may involve an approved lockout/tagout process or other site-specific energy-control procedures.
Step 8: Verify the Electrical Condition
This is one of the most critical steps before working on electrical equipment.
Do not assume that equipment is safe simply because:
- A circuit breaker is OFF.
- An isolator is open.
- A control panel display is OFF.
- A machine is not operating.
The actual electrical condition must be verified using an appropriate method and properly rated test equipment.
A Simple Principle
Do not test electrical equipment until you understand what is energized, what has been isolated, and what electrical energy may still be present.
A properly rated instrument and an approved verification procedure are essential.
Step 9: Check for Stored Electrical Energy
Electrical energy can remain in certain equipment even after the main supply has been disconnected.
Common examples include:
- Capacitors
- Battery systems
- UPS systems
- DC circuits
- Power electronic equipment
Some electrical systems may also contain induced voltage.
Before starting work, consider whether stored or induced energy may be present.
The required discharge and verification procedures depend on the equipment and the manufacturer’s instructions.
Never assume that switching OFF the main supply has automatically removed every electrical hazard.
Step 10: Inspect the Test Instrument
The test instrument is one of the most important tools used during electrical testing.
Before starting, inspect the instrument carefully.
Check:
- Physical condition
- Display
- Battery condition
- Input terminals
- Measurement functions
- Voltage rating
- Measurement category rating
Do not use an instrument if it shows signs of damage.
Examples include:
- Cracked housing
- Damaged display
- Burn marks
- Loose terminals
- Missing components
A faulty test instrument can provide incorrect readings and create a dangerous situation.
Step 11: Inspect Test Leads and Accessories
A good test instrument is not enough if the test leads are damaged.
Before connecting test leads, inspect:
- Lead insulation
- Probe tips
- Connectors
- Clips
- Test cables
- Accessories
Do not use leads with:
- Cracked insulation
- Exposed conductors
- Loose connectors
- Damaged probe tips
Also ensure that the accessories are suitable for the required test.
For example, using an incorrect test lead or connector may result in:
- Poor connections
- Incorrect test results
- Equipment damage
- Increased electrical hazards
Step 12: Select Appropriate Personal Protective Equipment
Personal protective equipment should be selected based on the hazards associated with the specific task.
Depending on the work environment and hazard assessment, PPE may include:
- Safety helmet
- Safety glasses
- Face shield
- Appropriate protective gloves
- Protective clothing
- Safety footwear
- Hearing protection
However, beginners should remember an important principle:
PPE does not make an unsafe electrical task safe.
The first priority should be to eliminate or control the electrical hazard whenever possible.
PPE provides an additional layer of protection.
To understand the foundation of electrical safety, visit our guide on Electrical Safety Fundamentals.
Step 13: Prepare the Test Area
Before connecting the test equipment, organize the work area.
Make sure that:
- Unnecessary personnel are away from the test area.
- Test leads are properly arranged.
- Equipment access is controlled.
- Warning signs or barriers are used where necessary.
- The technician has sufficient working space.
- Emergency procedures are understood.
This becomes especially important during tests involving high test voltages.
Some electrical tests intentionally apply voltage to equipment.
During these tests, unauthorized personnel should not be allowed to touch the equipment or test connections.
Step 14: Confirm the Test Connections
Before pressing the TEST button or energizing the test instrument, carefully review every connection.
Ask:
- Are the leads connected to the correct terminals?
- Is the equipment properly isolated?
- Is the test voltage correct?
- Are all unnecessary connections removed?
- Could the test damage another connected component?
Real-Life Example
Suppose an insulation resistance test is performed on a motor.
The motor may be connected to sensitive electronic equipment.
Applying a high insulation test voltage without properly disconnecting incompatible components could potentially damage connected equipment.
This is why understanding the complete system before testing is essential.
Step 15: Perform a Final Safety Review
Before beginning the actual test, stop for a final review.
Ask yourself:
Equipment
- Am I testing the correct equipment?
Energy
- Have all possible energy sources been identified?
Isolation
- Has the equipment been properly isolated where required?
Safety
- Have the relevant hazards been considered?
Instrument
- Is the test instrument suitable and in good condition?
Connections
- Are all test connections correct?
Environment
- Is the test area safe and controlled?
If you are uncertain about any answer, stop and investigate before continuing.
A Simple Pre-Test Safety Checklist for Beginners
Use the following checklist before performing an electrical test.
Job Preparation
- I understand the purpose of the test.
- I know which equipment will be tested.
- I have reviewed the correct test procedure.
Equipment Identification
- The equipment has been correctly identified.
- The equipment nameplate or identification tag has been checked.
Energy Sources
- All possible energy sources have been identified.
- Backup and alternate supplies have been considered.
- Stored electrical energy has been considered.
Electrical Isolation
- The equipment has been isolated where required.
- Unexpected re-energization has been controlled according to the applicable procedure.
- The electrical condition has been appropriately verified.
Test Equipment
- The correct test instrument has been selected.
- The instrument is suitable for the application.
- Test leads and accessories have been inspected.
- The instrument and leads are undamaged.
Personal Safety
- Appropriate PPE has been selected.
- The work environment is safe.
- Unauthorized personnel are away from the test area.
Final Verification
- Test connections have been checked.
- The test procedure is ready.
- I understand the next step before starting the test.
Common Pre-Test Safety Mistakes
Starting the Test Too Quickly
Never allow schedule pressure to force you to skip safety checks.
Testing the Wrong Equipment
Always confirm equipment identification before disconnecting or testing anything.
Ignoring Additional Power Sources
Electrical equipment may receive energy from multiple sources.
Using Damaged Test Equipment
A damaged test lead can be as dangerous as damaged electrical equipment.
Forgetting About Stored Energy
Some systems remain electrically hazardous after the main supply is disconnected.
Connecting the Test Instrument Incorrectly
Always verify your connections before applying test voltage or starting a measurement.
The STOP Method Before Electrical Testing
Beginners can use this simple method before every test:
S — Study the Job
Understand the equipment and testing requirement.
T — Trace the Energy Sources
Identify every possible source of electrical energy.
O — Observe the Environment
Check the equipment, work area, hazards, and surrounding conditions.
P — Prepare and Proceed Safely
Prepare the instrument, PPE, connections, and safety controls before starting.
This simple process can help new technicians develop good electrical testing habits.
Key Takeaways
A successful electrical test does not begin when the instrument is connected.
It begins with preparation.
Before performing any electrical test:
- Understand the job.
- Identify the correct equipment.
- Identify all energy sources.
- Review the testing procedure.
- Inspect the work environment.
- Isolate the equipment when required.
- Prevent unexpected energization.
- Verify the electrical condition.
- Consider stored energy.
- Inspect your test instrument and leads.
- Use appropriate PPE.
- Confirm all test connections.
- Perform a final safety review.
Good electrical testing is not just about obtaining an accurate result. It is about obtaining that result safely and correctly.
For beginners, developing a consistent pre-test safety routine is one of the most important steps toward becoming a competent electrical testing professional.
What to Learn Next
The next important topic in our Electrical Safety Fundamentals series is:
Understanding Lockout/Tagout (LOTO) for Electrical Testing
In the next article, we will explain how electrical energy sources are controlled during maintenance and testing and why preventing unexpected energization is essential for workplace safety.
